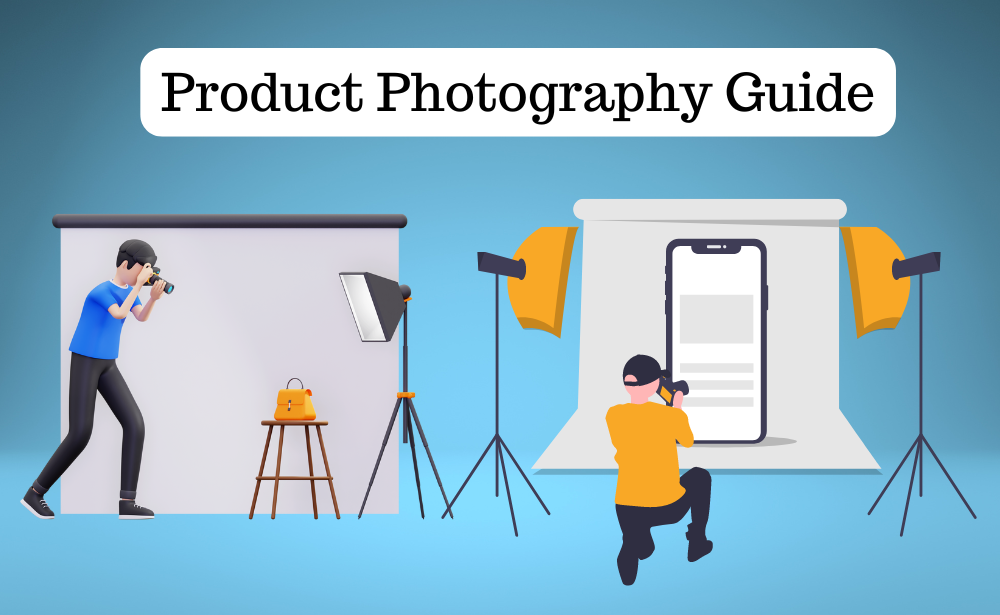
Product photography plays a critical role in attracting customers and driving sales. With online shoppers relying heavily on visual content to make purchase decisions, a poorly captured or edited photo can deter potential buyers, while a stunning product image can boost conversions.
Effective product photo editing enhances the appeal of your products, builds customer trust, and sets the foundation for a successful online store. In this guide, we’ll cover everything you need to know—from capturing the perfect shot to mastering advanced photo editing techniques.
Table of Contents
What is Product Photography and Why Does It Matter in Ecommerce?
Product photography refers to images taken of items you sell online. These photos are displayed on your ecommerce website or social media platforms and serve as the first impression for potential customers.
Why does this matter? In e-commerce, buyers can’t physically touch or inspect the product—they rely entirely on visuals. A well-edited, high-quality photo can make the difference between a customer choosing your product or opting for a competitor.
When shoppers view a product online, they need to feel confident in their purchase decision. Professionally edited photos improve the credibility of your business by showcasing products in the best possible light, literally and figuratively.
Studies show that customers are more likely to purchase from websites with clear, high-resolution images than those with low-quality visuals. In short, product photography isn’t just about aesthetics—it’s a critical business tool that can increase sales and reduce returns.\

How to Capture the Perfect Product Photo
Before diving into photo editing, it’s essential to start with a well-captured photo. Here are the key elements of taking the perfect product shot:
1. Lighting
Good lighting is crucial. Natural light is often preferred, especially if you’re photographing outdoor products, clothes, or food. For a more controlled environment, studio lighting with softboxes or ring lights can create professional, evenly lit shots. The goal is to ensure that every detail of the product is visible without harsh shadows or overexposure.
2. Framing
Proper framing ensures that the product is the star of the image. Keep distractions out of the background and focus on showcasing the product from multiple angles. Ideally, include close-ups of details like textures, patterns, or features that buyers might want to inspect. A well-framed photo will minimize the need for extensive editing later.
3. Camera and Gear
While smartphone cameras have improved drastically, investing in a DSLR camera with a quality lens will significantly improve the sharpness and clarity of your photos. Tripods also help stabilize the camera, ensuring crisp, clear shots.
Pro Tip: Always shoot in RAW format. This gives you more flexibility during the editing process, as RAW files retain more data than JPEGs.
Basic Editing Techniques for Product Photos
Once you’ve captured a great product photo, the next step is to enhance it using basic editing techniques. Here are the first edits you should consider:
1. Cropping
Start by cropping the image to eliminate any unnecessary elements in the frame. Focus the viewer’s attention on the product itself and remove distractions from the background. Most photo editing software, such as Adobe Lightroom and GIMP, provide easy cropping tools.
2. Brightness and Contrast
Proper lighting ensures the product is well-illuminated. Adjust the brightness and contrast so that the product stands out while maintaining a natural look. Overexposure or underexposure can distort product details, so aim for balance here.
3. Color Correction
Accurate colours are essential for maintaining customer trust. Imagine purchasing a red dress that arrives looking orange! Use the colour correction tools to ensure that the product’s colours are as true-to-life as possible. Adjust hue, saturation, and temperature as needed.
Tools for Basic Editing:
- Adobe Lightroom: Ideal for adjusting brightness, contrast, and colour correction.
- Canva: A beginner-friendly tool for basic edits and design elements.
Advanced Photo Editing Techniques: How to Retouch Like a Pro
For ecommerce businesses looking to create truly professional-looking photos, advanced retouching techniques can make a significant impact. This involves fine-tuning every aspect of the image for maximum appeal. Here are some advanced editing methods:
1. Removing Imperfections
Tools like Adobe Photoshop offer a Spot Healing Brush that allows you to remove any unwanted spots, blemishes, or marks on your product. Whether it’s a scratch on a piece of jewellery or wrinkles on fabric, eliminating these distractions gives the photo a polished look.
2. Sharpening Details
Use the Sharpen tool to highlight important product details, such as textures or fine lines, especially for items like electronics or accessories where precision is essential. Be careful not to over-sharpen, as this can make the image look unnatural.
3. Background Removal
If your product shots have a busy background, consider removing it entirely. A clean, white background is ideal for ecommerce as it keeps the focus on the product. Tools like Clipping Magic or Remove.bg can make this process easier.
The Importance of Color Correction in Product Photo Editing
Colour plays a vital role in how a product is perceived online. Correct colour balance ensures that your product photos match the real-life appearance of the product, which is critical for customer satisfaction. Inaccurate colours can lead to negative reviews and returns, especially if buyers receive an item that looks significantly different from the photos.
Steps for Color Correction:
- Adjust the White Balance to ensure the colours are accurate.
- Use the Saturation slider to control how vivid the colours are.
- Fine-tune the Contrast to make the product pop without washing out the colours.
This process ensures that your images are not only eye-catching but also honest representations of your products.
Editing Techniques to Make Your Product Photos Pop
Even minor adjustments during the editing process can significantly impact how appealing your product images are. Here are some quick adjustments to consider:
1. Brightness and Saturation
Boosting the brightness slightly can make your product feel more inviting, while adjusting the saturation enhances the vibrancy of the colours. Careful use of these tools can make your product stand out without appearing overly edited.
2. Contrast
Increasing the contrast adds depth to your photos, helping to separate the product from the background. High contrast makes the product feel more dynamic and three-dimensional.
Pro Tip: A good balance between brightness, saturation, and contrast is key. Too much of any one element can make the photo look unnatural.
Best Photo Editing Software for Product Photography
Choosing the right photo editing software can significantly enhance your productivity and the quality of your images. Here are some top options:
1. Adobe Photoshop
A favourite among professionals, Photoshop offers powerful tools for advanced retouching and editing. From background removal to sharpening fine details, this software gives you full control over your product images.

2. Adobe Lightroom
Lightroom excels at batch processing and basic photo adjustments like brightness, colour correction, and cropping. It’s perfect for editing large volumes of product photos quickly.
3. GIMP
An open-source alternative to Photoshop, GIMP is packed with advanced editing features. It’s a good choice for those who want potent tools without the subscription fees.
Common Mistakes to Avoid When Editing Product Photos
Editing can significantly improve your product photos, but it’s easy to go overboard. Here are some common mistakes and how to avoid them:
1. Over-Retouching
Too much retouching can make your product look artificial. Avoid excessive use of tools like the Blur or Smoothing tool, as this can remove essential textures.
2. Inaccurate Colors
Ensure that your edited product images are accurate to the actual product. Mismatches in colour can lead to dissatisfied customers and increased returns.
3. Inconsistent Editing
All product photos on your ecommerce site should have a consistent look and feel. This creates a professional image and helps build brand identity.
Hiring Professional Photo Editing Services: Is It Worth It?
If photo editing feels overwhelming or you don’t have the time to learn, hiring a professional photo editor might be worth the investment. They bring expertise in retouching, colour correction, and ensuring consistency across your product photos. While this service comes at a cost, the return on investment can be significant if it leads to increased sales and improved customer satisfaction.
Popular professional services:
- Pixelz: Specializes in ecommerce photo editing.
- Path: Offers advanced retouching and background removal.
Final Tips for Creating High-Quality Product Photos
Creating professional, high-quality product images involves both capturing great shots and mastering photo editing techniques. By focusing on lighting, framing, and consistent editing, you can elevate the overall look of your ecommerce store.

Key Takeaways:
- Capture great photos with the right lighting and framing.
- Use basic editing tools like cropping, brightness adjustments, and colour correction.
- Master advanced retouching techniques for a polished, professional look.
- Ensure that your photos accurately represent the product to avoid customer dissatisfaction.
- Consider professional services if editing isn’t your strength or focus.
By applying these tips and techniques, your product photography will not only meet but exceed customer expectations, leading to better engagement and higher sales.
FAQs
1. Why is product photography so crucial for ecommerce?
Product photography is vital because it’s the only way customers can visually inspect an item online. High-quality images build trust and increase the likelihood of sales.
2. Can I edit product photos on a smartphone?
Yes, apps like Snapseed and Adobe Lightroom Mobile allow you to perform basic edits like cropping, brightness adjustments, and colour correction directly on your smartphone.
3. What is the best software for beginner photo editors?
Canva and Adobe Lightroom are great for beginners, offering intuitive tools for basic editing needs like cropping, brightness, and colour adjustments.
4. How can I ensure consistent product photos on my website?
Use the same lighting, background, and editing process for all your product photos. This creates a cohesive look across your ecommerce store.
5. What are the most common editing mistakes?
Common mistakes include over-editing, inaccurate colours, and inconsistent photo quality across different products.
6. Should I always use a white background for product photos?
While white backgrounds are ideal for most products, lifestyle shots with contextual backgrounds can work well for specific categories, such as fashion or home decor.


